realme How to Connect and Set up Wi-Fi
realme 2970Table of contents
Turn On/Off Wi-Fi
To be able to connect the realme smartphone to an available Wi-Fi network, the general Wi-Fi function must first be activated.
This is done either in the Wi-Fi settings or via the quick settings of the status bar.
Note: If no Wi-Fi connection is used, we recommend turning off the feature to save battery, as the realme device will otherwise continue to search for available Wi-Fi networks.

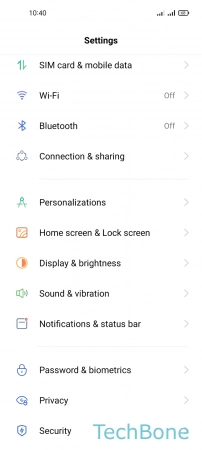

- Tap on Settings
- Tap on Wi-Fi
- Enable or disable Wi-Fi
Connect to a Wi-Fi Network
If we want to download bigger amounts of data, such as updates or apps, on the realme smartphone, it is advisable to connect to a Wi-Fi network beforehand in order to have unlimited data available if there are no restrictions or limits set part of the Wi-Fi network.
Connecting to a Wi-Fi network usually requires the corresponding Wi-Fi password, since most networks are secured via WPA/WPA2 PSK.
A password is rarely required for public Wi-Fi networks, such as in restaurants, cafés or train stations, but this also endangers the security of our own data, since we never know who else might be connected to the same network.

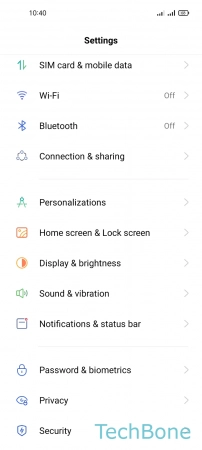
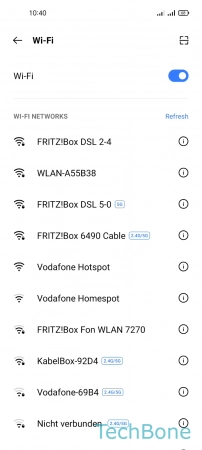

- Tap on Settings
- Tap on Wi-Fi
- Choose a Wi-Fi network
- Enter the Wi-Fi password and tap Save
Connect to a Wi-Fi Network using QR Code
When connecting to a secured Wi-Fi network, the corresponding Wi-Fi password is also required, which may have a cumbersome and long sequence of digits.
To facilitate the connection, we can scan the QR code of a Wi-Fi network with the realme smartphone, which contains all the data, such as host name, IP address and Wi-Fi password.

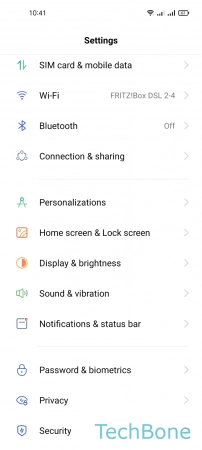
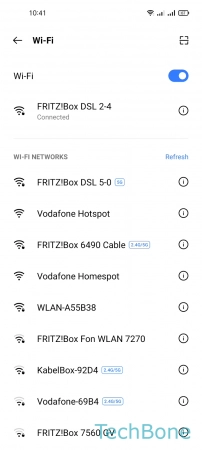
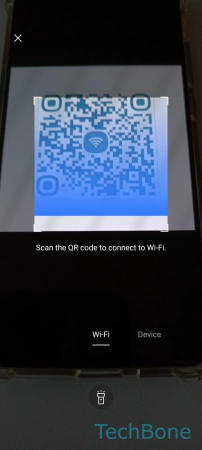
- Tap on Settings
- Tap on Wi-Fi
- Tap on QR code scanner
- Scan a QR code to connect to Wi-Fi
Auto Reconnect to a Wi-Fi Network
As soon as a saved Wi-Fi network is within range, the realme smartphone connects automatically by default, which bypasses the need to reconnect manually by entering the Wi-Fi password.
The automatic reconnection can be enabled and disabled individually for each saved network.

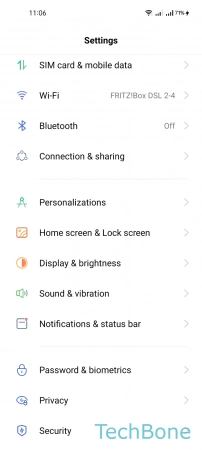
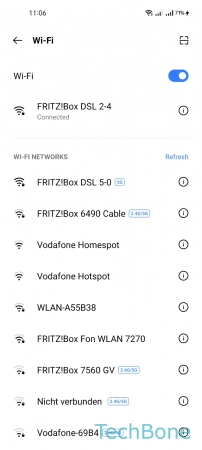
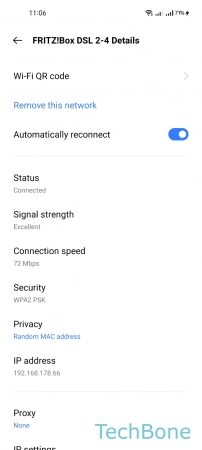
- Tap on Settings
- Tap on Wi-Fi
- Open the Menu
- Enable or disable Automatically reconnect
Share Wi-Fi Password via QR Code
We can share the access data or password of a connected Wi-Fi network on the realme smartphone via QR code to enable connecting without password entry.
The displayed QR code can then be scanned by another mobile device to establish a connection.

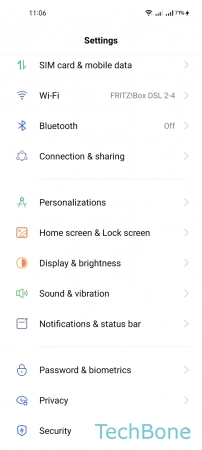
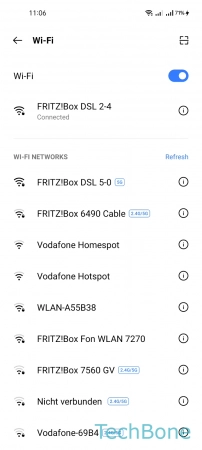
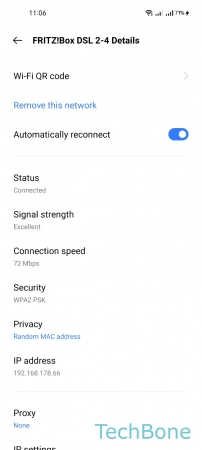
- Tap on Settings
- Tap on Wi-Fi
- Open the Menu
- Tap on Wi-Fi QR code
Set up Proxy Server
A proxy server can also be set up on the realme smartphone via a connected Wi-Fi network, through which the subsequent connections are redirected.
Note: For a successful setup, at least the proxy host name and the proxy port are required.

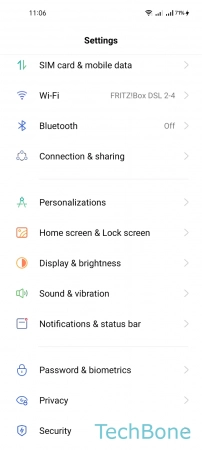
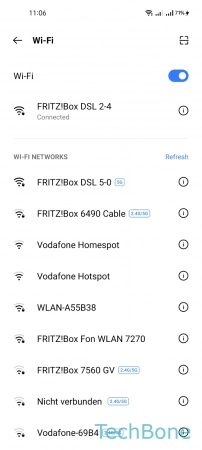
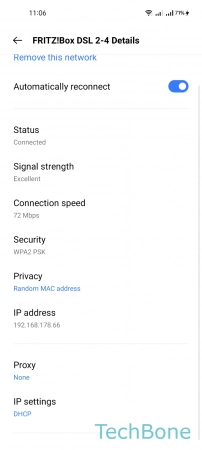
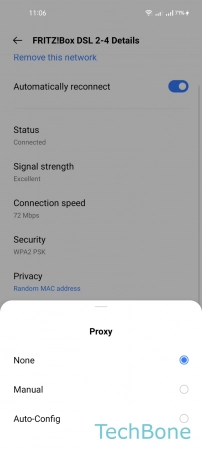
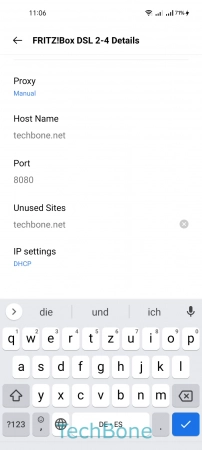
- Tap on Settings
- Tap on Wi-Fi
- Open the Menu
- Tap on Proxy
- Choose Manual or Auto-Config
- Enter the Corresponding data and tap Save
Add a Wi-Fi Network manually
If a Wi-Fi network is not found by the realme smartphone, for example because it is invisible, a connection can be established manually.
To do this, we need to enter the correct SSID of the router and the corresponding password if the Wi-Fi network is secured.

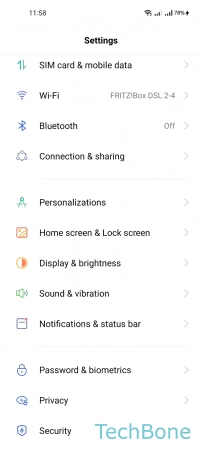
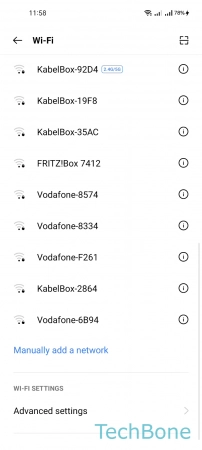

- Tap on Settings
- Tap on Wi-Fi
- Tap on Manually add a network
- Enter the SSID/Password and tap on Save
Auto Connect to the best Wi-Fi Network
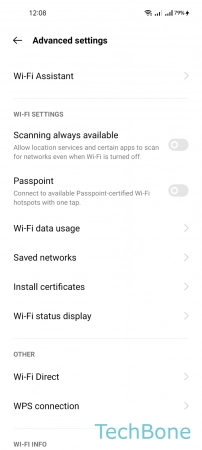
The realme smartphone comes with the Wi-Fi Assistant, which automatically scans the stored networks and automatically selects the best Wi-Fi network to always ensure the best possible connection.
The smart selection of the Wi-Fi network can be turned on or off in the settings at any time.

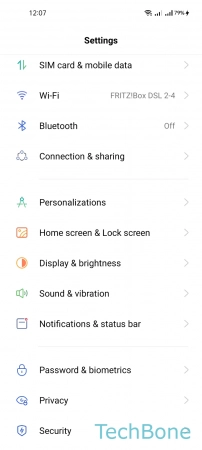
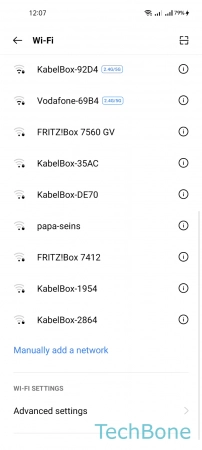

- Tap on Settings
- Tap on Wi-Fi
- Tap on Advanced settings
- Tap on Wi-Fi Assistant
- Enable or disable Auto connect to the best Wi-Fi
Auto Switch to Mobile Data
If a connection to the saved Wi-Fi networks is rather weak or poor, the realme smartphone can automatically switch to mobile data to provide the best possible and stable Internet connection.
By default, this feature is disabled because the mobile data network is accessed, but it can be enabled at any time.

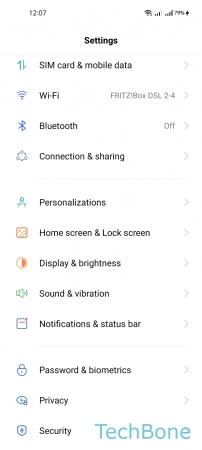
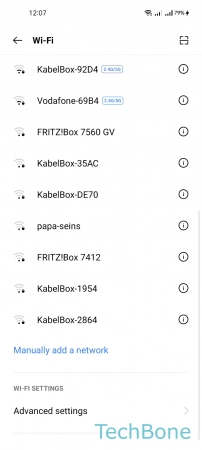
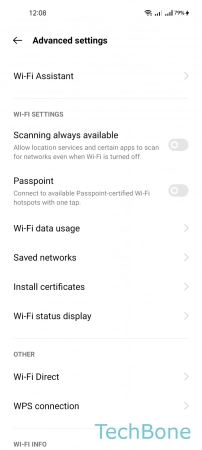

- Tap on Settings
- Tap on Wi-Fi
- Tap on Advanced settings
- Tap on Wi-Fi Assistant
- Enable or disable Auto switch to mobile network
Allow/Deny Services and Apps to Search for Wi-Fi Networks
The Wi-Fi settings on the realme smartphone include the "Scanning always available" feature, which allows the location service and apps to search for Wi-Fi networks even if Wi-Fi is turned off.

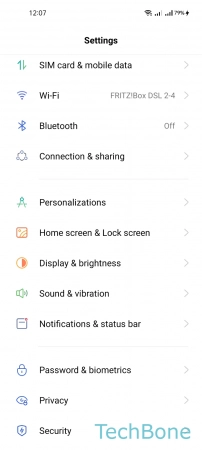
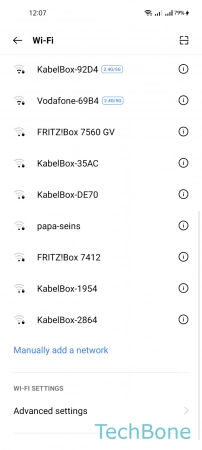
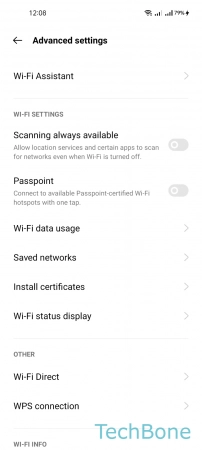
- Tap on Settings
- Tap on Wi-Fi
- Tap on Advanced settings
- Enable or disable Scanning always available
Connect to a Wi-Fi Network via WPS
If the WPS button of a Wi-Fi router is accessible, we can establish a network connection by starting the WPS search on the realme smartphone and pressing the button on the router.
WPS stands for Wi-Fi Protected Setup and, besides scanning a QR code, is the easiest method to connect devices in a Wi-Fi network, since it eliminates the need to enter the corresponding Wi-Fi password.

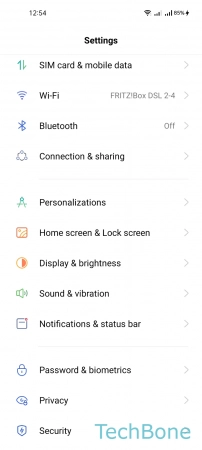
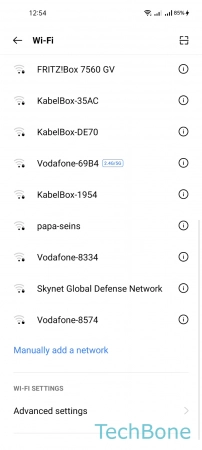
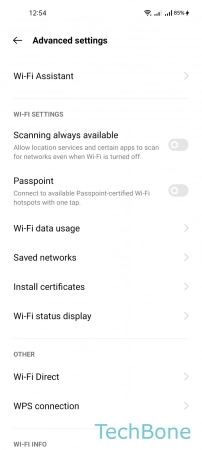

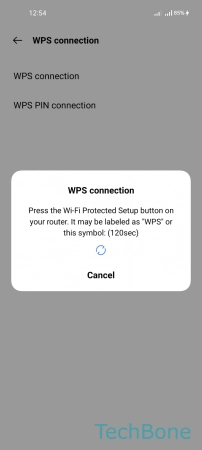
- Tap on Settings
- Tap on Wi-Fi
- Tap on Advanced settings
- Tap on WPS connection
- Choose WPS connection
- Press the WPS button on the router