
Skip to content
TechBone
Huawei

Huawei: Turn Google Autofill On or Off

If login fields, addresses or payment details fill in on their own, the Google Autofill service is active on your Huawei phone and pulling data straight from your Google account. Some users want that convenience back, others want it switched off after noticing sensitive data appearing in forms it should not touch. Either way, the setting sits in a place that is easy to miss.

4 min5 steps
VersionAndroid 10 · EMUI

Step by step

1 / 5

Step 1 of 5: Open the **settings**

1

Open the settings

Live simulator

Android 10 · EMUI
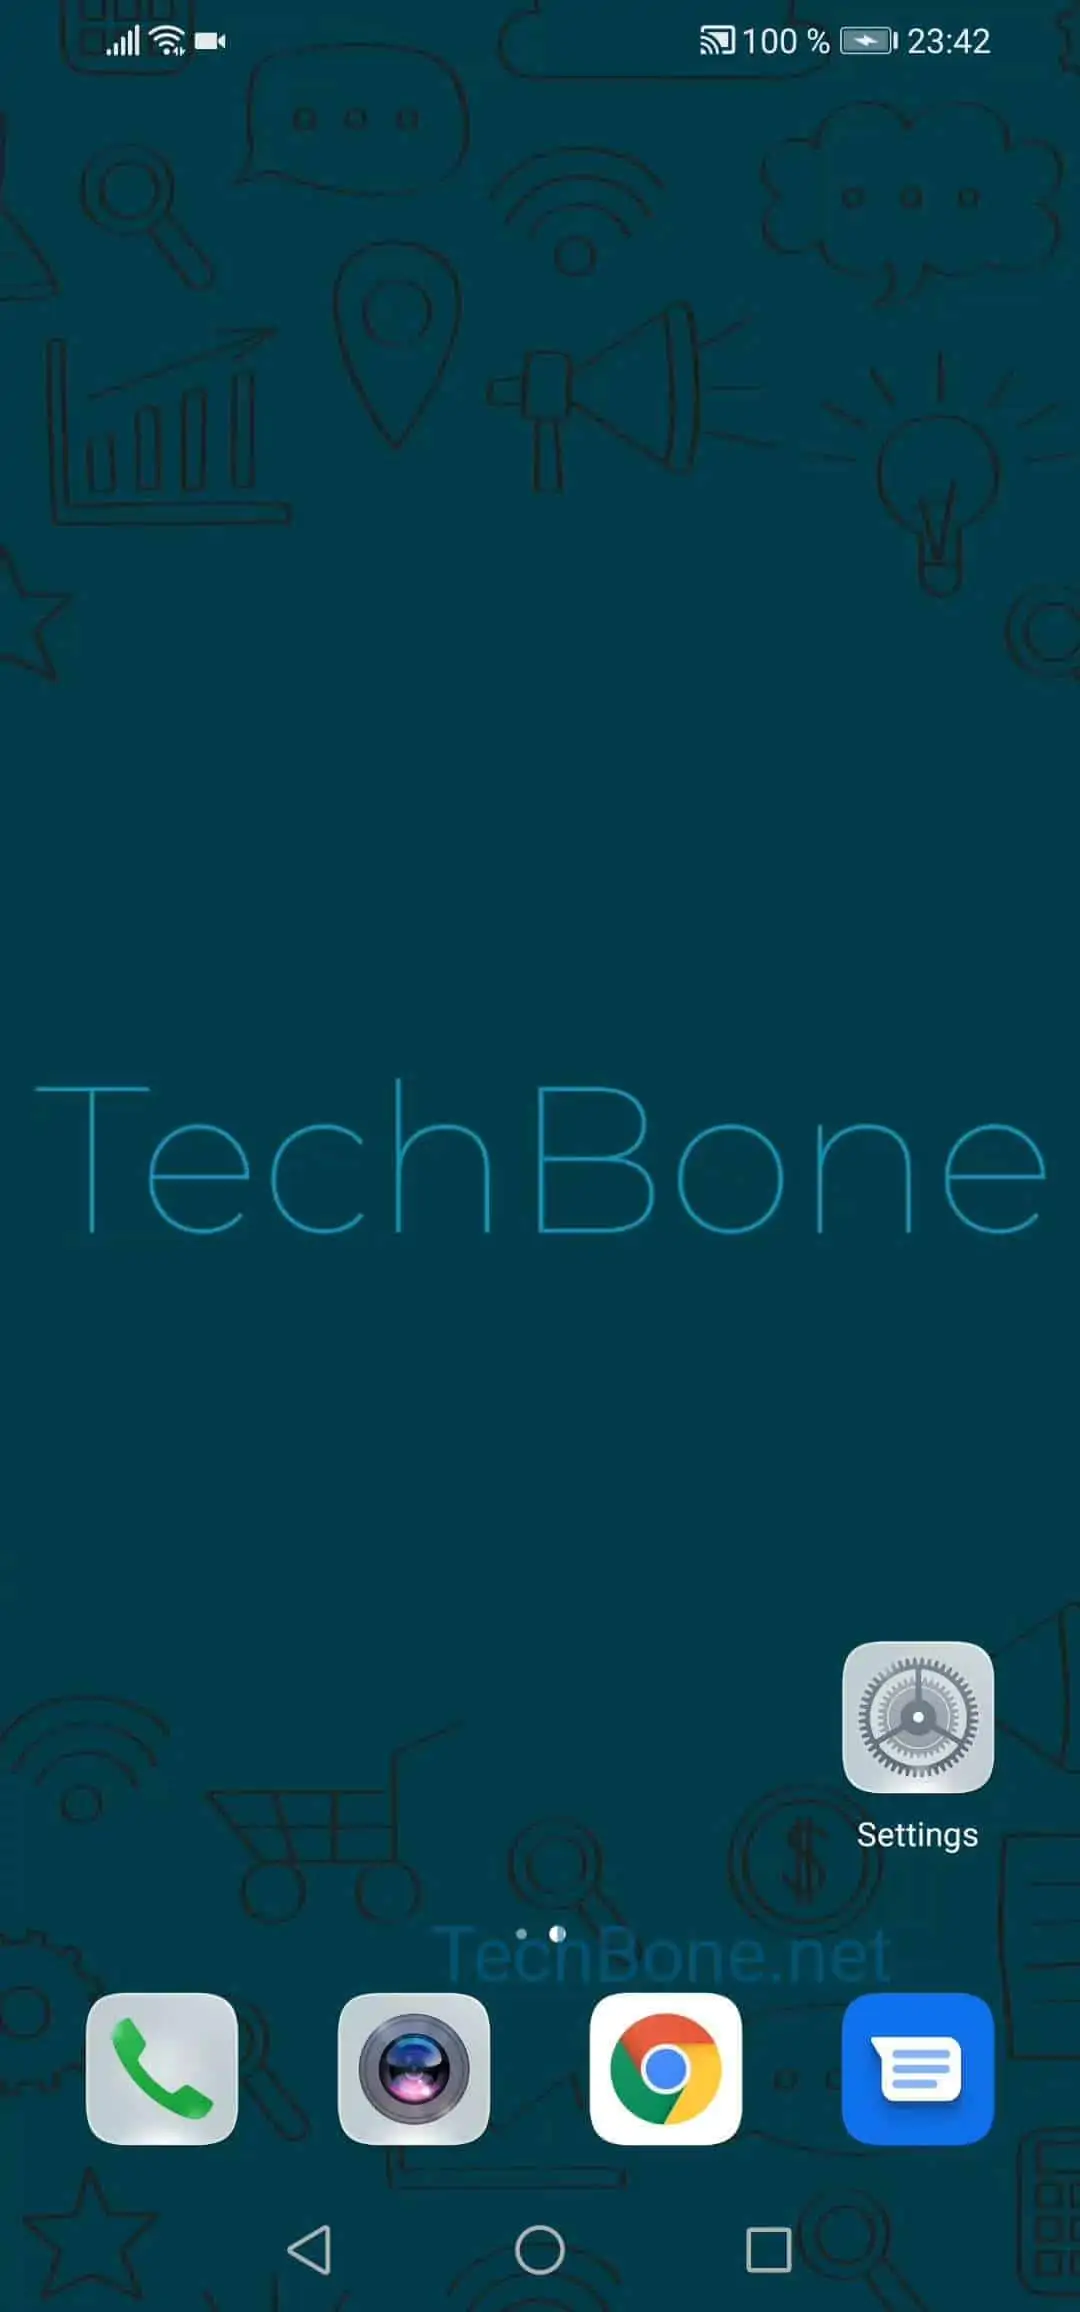
Enable or Disable Google Autofill – EMUI: step 1 – Open the settings
Open the settings
1 / 5

Scroll or use the buttons for the next step

Feedback

Was the guide correct?

Help others: confirm the path or report a problem.

27

Confirmations

Forum verified this path

Huawei

Enable or Disable Google Autofill auf Huawei

Google Autofill is a system-level service on Huawei phones running Android with EMUI. Once active, it reads saved entries from your Google account and inserts them into matching fields across apps and browsers: login names, passwords, addresses, and payment details.

This behavior is convenient for repeat logins but becomes a problem on shared devices or when a form shows the wrong stored entry. Disabling the service removes automatic suggestions everywhere, not just in one app, since it is a device-wide setting rather than a per-app permission.

To change it, open the following path:

Open the settingsTap on PrivacyTap on AdvancedTap on Autofill service from GoogleTap on Continue and follow the instructions on the display

If you only want to stop autofill in a single browser, check that app's own settings first, since a browser-level autofill option can override or duplicate the system service. Turning off the Google service entirely means you will need to type login details manually everywhere until you switch it back on.

Frequently asked questions

Cached entries on the phone sometimes lag behind account changes. Reopen Open the settingsTap on PrivacyTap on AdvancedTap on Autofill service from Google and confirm the sync by tapping Tap on Continue and follow the instructions on the display again.